| Step 1:
Again we will start with our Wrapper folder from day 8. I will also grab the original 1.0 My Pictures folder #25, and the Video Clip file # 54.
Once I have these elements gathered together, I delete the elements I don't need.

| Step 2:
Now, I have chosen to create a brand-new photo rather than attempt to use one of our existing items. This is because I want something a bit higher resolution, and I want to be able to do a nice perspective.
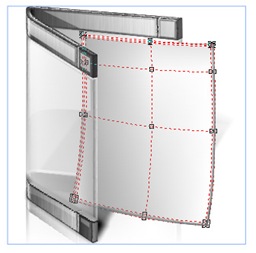
So the first thing I do is use a Mesh Rectangle to draw in the basic shape of my new image. Once I have this I create some additional mesh nodes to give it some depth and definition.
 |
| Step 3:
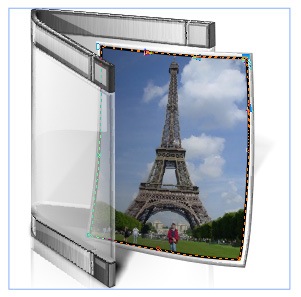
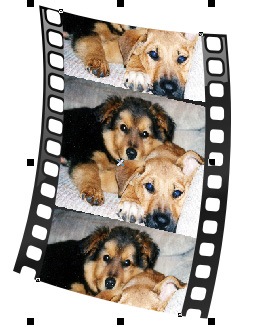
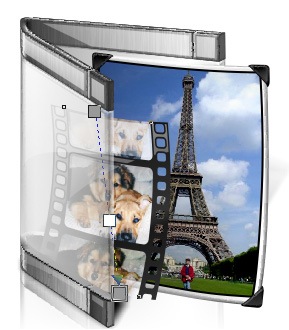
Next I import in my new picture, and using the Bitmap 3D Effects Perspective tool, I give it a bit of perspective to make sure it fits. Then I crop it down to fit on my photo back.
I also want their to be a black outline around the image, so using the Bezier tool I draw a matching rectangle behind it.
 | Step 4:
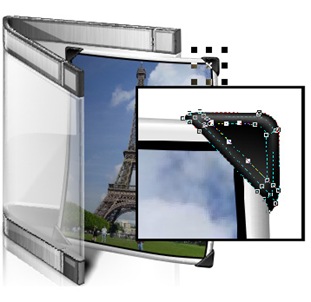
I know it is a bit old fashion, but to make sure that our new Photo matches our originals, I want to go through and add some corner clips.
I do this with four small mesh fill objects. You could probably do this just as well with some basic shapes, but I am partial to the Mesh tool.
 |
| Step 5:
We still need to add gloss to our photo, but we will do it later. For now we will move on to our Video file.
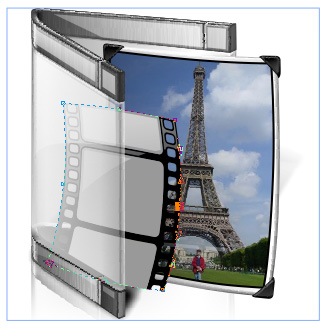
We will want to change the content of the frames of our video file, so I remove the texture fill we have now. Then I group the file together and with the Envelope tool, and give it a bit more of a film-like look.
 | Step 6:
Now that we have our film in place, I want to change the image on the film like I did the photo, so I import in another image. I place this behind the cells of our film, and crop it and skew it until it looks ok.
Then I do this again for the top and bottom frames.
 |
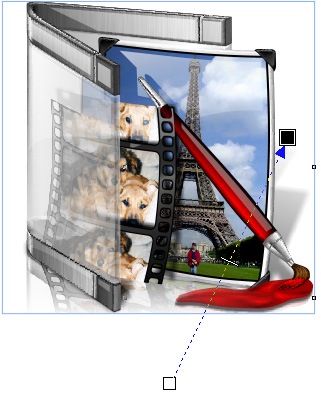
| Step 8:
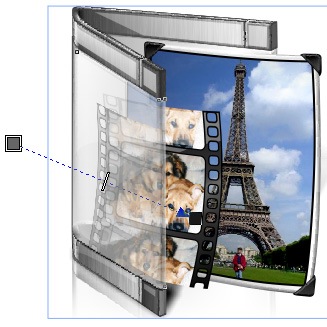
Now I grab all three of these images and convert them to one bitmap. Once this is done, I use the Interactive Transparency tool to give the images some translucency.
 | Step 9:
Now, like yesterday, we will need make copies of our new assets and convert them to bitmaps for the reflection on the Wrapper. Once I have these in place, I convert them both into a singe bitmap, and crop them.
Finally I fade them out with the Interactive Transparency tool.
 |
| Step 10:
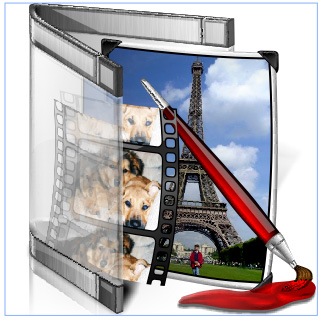
Now we can finally move our paint brush back into the composition. With a bit of tweaking with the shape tool it seems to fit right in.
 | Step 11:
Now that we have all of our assets in place, we need to go through and touch up our gloss. This is relatively simple, but is very important in giving the icon continuity within the set.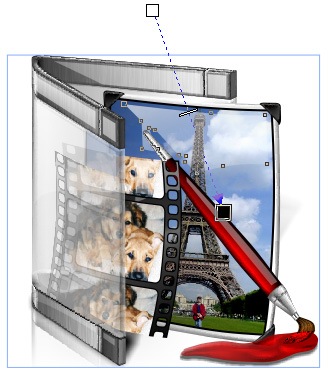 |
| Step 12:
Our lasts two steps, as usual, are to create the shadows and reflections.
Don't forget that you can learn more about this over at my CorelDRAW for Skinners tutorials.
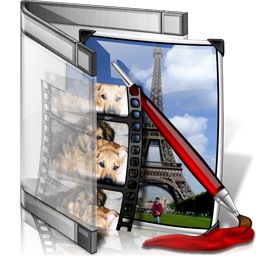
 | Finished Icon:
Our finished Pictures folder looks pretty good, even if that silly film strip would not leave us alone.
 |